Join Our VIP Email List
Keep up to date on deals, promos, and sales.
Posted by Kim Hood on Oct 9th 2015
This tutorial was written by Kim Hood at CurtainQueenCreates.com
During fall, do you like to add pillows in orange, rust, and golden tones to your decor? Why not make a sweater pillow? It's very simple. Thrift stores have many colors of shirts and sweaters, lots of sizes, and cheap prices. I found this rusty orange sweater last year at our local Salvation Army, and I snatched it up for a couple of dollars.
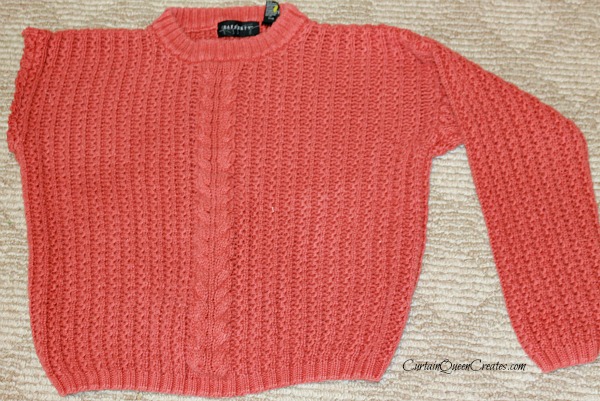
The sweater came with both sleeves, I promise! I used one sleeve while making my DIY Shirt Sleeve Pumpkins last fall. (Return here after reading this post and click the title to see the details.) For this pillow cover, we only need the bottom portion (the body section) of the sweater. Invert your sweater so the seams are to the outside. If your sweater (like mine) is wider than the pillow, center the pillow inside the sweater. Pinch sides together to remove slack and pin.
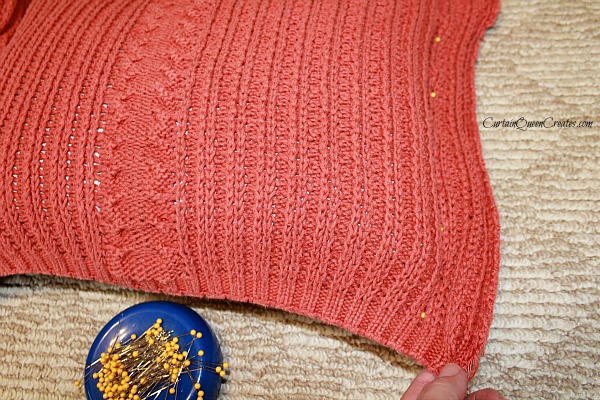
Remove pillow form and adjust your pins to form straight pin lines for stitching.
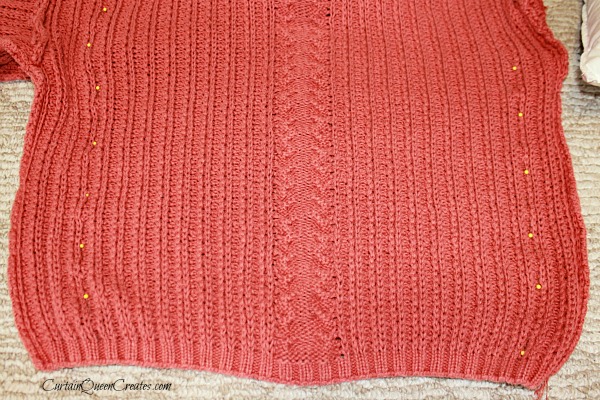
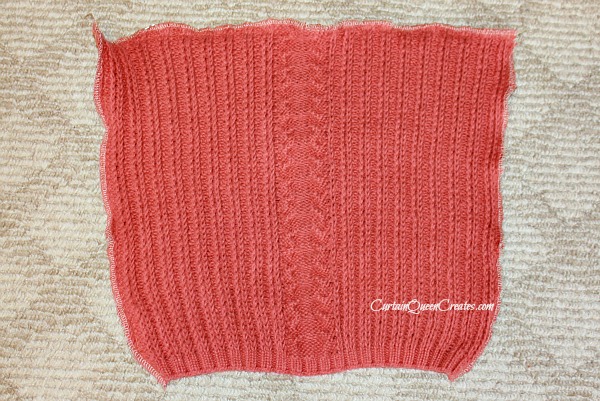
Stitch both side seams and trim away the extra sweater edge at half an inch from the seam.
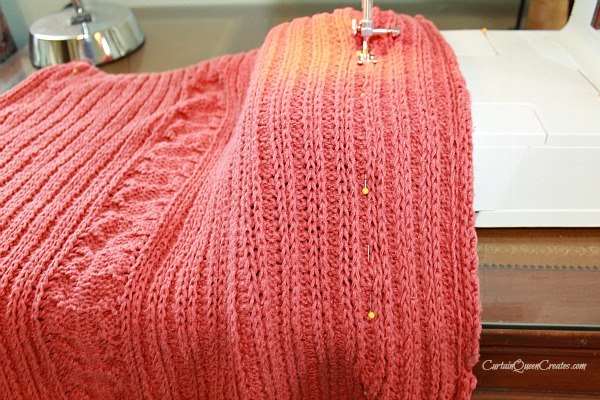
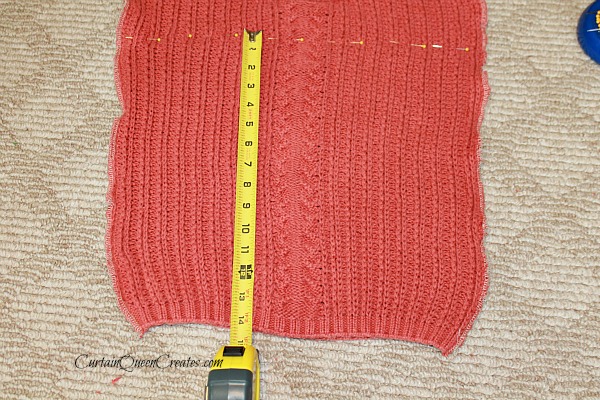
Since the bottom band of the sweater is a nice finished edge, don't stitch that closed. We'll use that as the opening to insert the pillow form and secure it with buttons later. For now, we need to stitch across from side seam to side seam at a distance 2-1/2" beyond the measurement of your pillow. Since I used a PillowCubes 12" x 16" form, my pin measurement is 14-1/2" from the bottom band of the sweater.
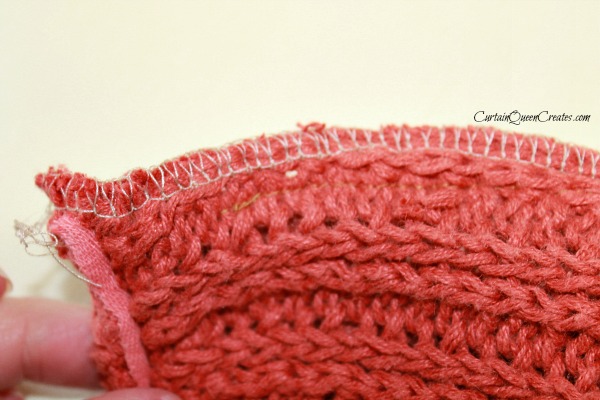
Stitch along the pin line, just as you did on each side and trim the allowance at 1/2". Zig-zag stitch or serge all seam allowances to prevent ravel.
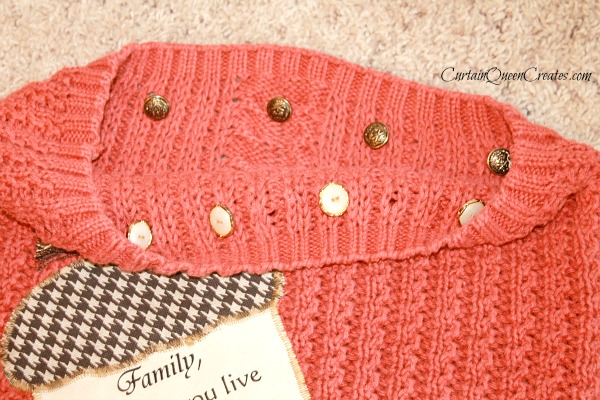
Turn the cover to the outside, and your pillow is ready for buttons. Easy, right? A loose weave sweater works best for this project so the buttons can slip between stitches. Bonus - no need to sew button holes! Choose your buttons based on the size of your holes. Place pins in the location of the buttons. Remember, you will sew the buttons on the flap behind and push through the holes to the front side.

And, here's the completed pillow with my PillowCubes 12" x 16" pillow form inside.
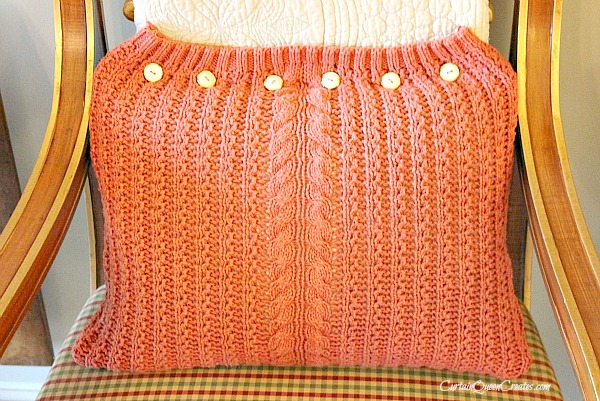
I don't want to confuse you, but I decided to sew buttons to both sides of my pillow. I like for both the pillow front and back to look nice. I placed six buttons along one side, and five along the other, off-setting them from one another.
In the picture above, you see a sneak peek of my finished pillow front - which is actually the back side of the sweater. In my next post, I'll show you how to easily add an applique to a pillow. All you need is some heat-and-bond material and a sewing machine with a zig-zag stitch. I'll give you the link to print the acorn pattern for free, so meet me back here for the completion of this unique sweater pillow.

Keep up to date on deals, promos, and sales.